
Whether you’re a beginner or have spent years fishing, knowing the right knots can make your time on the water more successful and less frustrating. Fishing knots help secure your line and tackle, improving your chances of landing a catch without losing gear.
Mastering these 13 essential knots will give you confidence and reliability no matter the situation you face outdoors. Learning them means you’re better prepared for different types of fishing and conditions, making your experience smoother and more enjoyable.
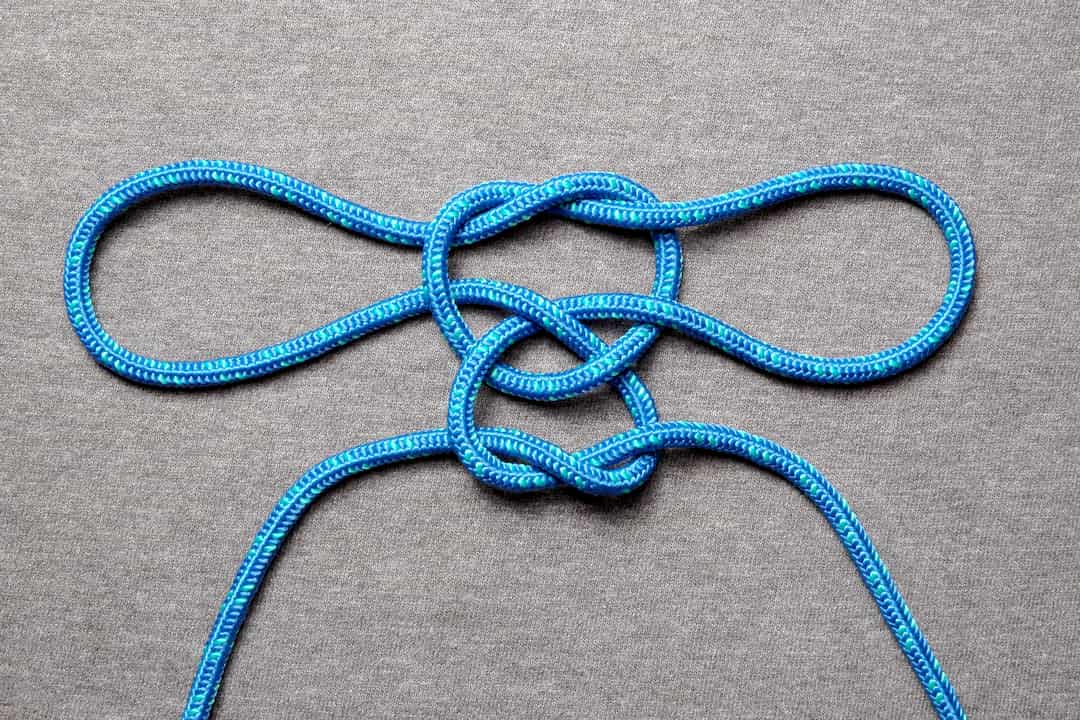
Palomar Knot
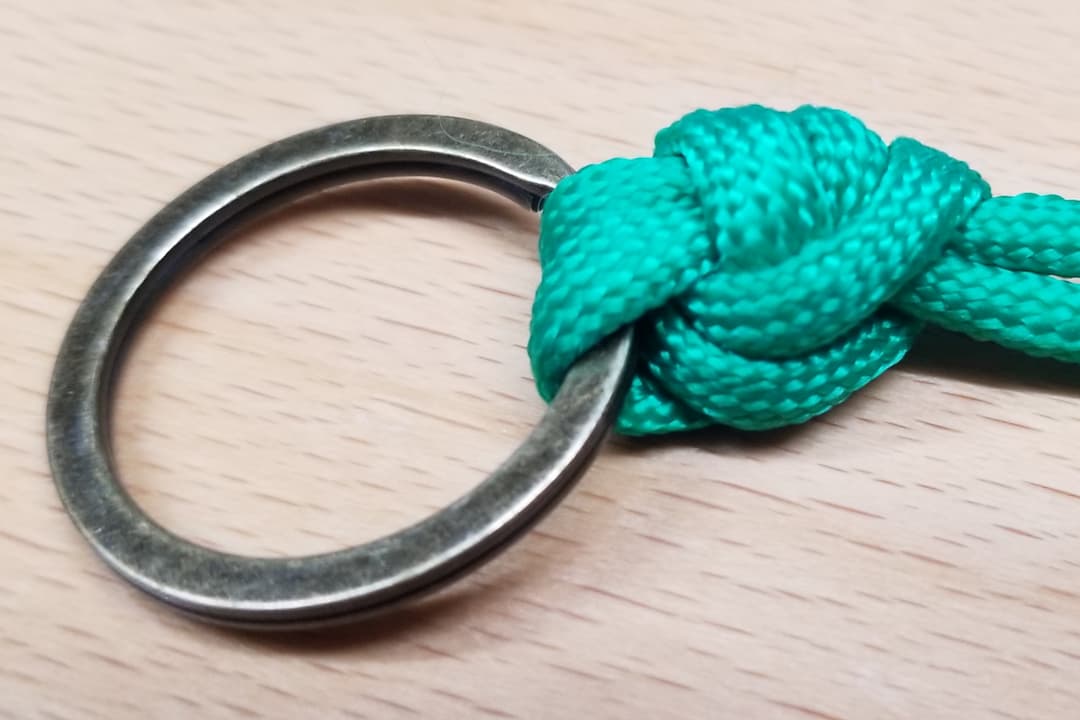
The Palomar knot is one of the simplest and strongest knots you can use. It works well with hooks, lures, and swivels.
To tie it, double your line and pass it through the eye, then tie a loose overhand knot.
You finish by passing the loop over the hook or lure and tightening it. It retains about 95% of your line’s strength when tied correctly.
Improved Clinch Knot
The Improved Clinch Knot is a reliable choice for securing your fishing line to a hook or lure. It’s simple to learn and works well with most types of fishing lines.
To tie it, pass the line through the eye, wrap it around several times, then thread the end through the loop near the eye. Tighten it carefully to avoid slipping.
You’ll find this knot useful for many fishing situations, making it a solid skill to add to your knot-tying toolkit.
Uni Knot
The Uni Knot is a reliable and versatile knot you should know. It works well with monofilament, fluorocarbon, and braided lines.
This knot is easy to tie once you get the hang of it, making it perfect for beginners and experienced anglers alike.
You can use the Uni Knot to tie hooks, lures, or even join two lines together. Its strength and simplicity make it a staple in your fishing skills.
San Diego Jam Knot
The San Diego Jam Knot is a reliable choice when tying your line to hooks or lures. You’ll find it works well with mono, fluorocarbon, or braided lines.
It is strong and fairly simple to tie, even when you’re in a hurry. Once you practice a few times, it becomes quick and easy to master.
This knot is especially popular because it holds tight under pressure and helps you fish with confidence. Give it a try next time you’re prepping your gear.
Snell Knot

The Snell Knot is perfect when you want a strong, straight pull on your hook. You’ll often use it for circle hooks or when fishing heavy cover.
Tying this knot helps keep the hook aligned with your line, improving your chances of a solid hookset. It’s especially useful for flipping and pitching techniques.
Once you get the hang of it, the Snell Knot becomes quick to tie and reliable in tough conditions. Give it a try next time you need a dependable knot for heavy-duty fishing.
Rapala Loop Knot
The Rapala Loop Knot creates a strong, non-slip loop that lets your lure move naturally in the water. You tie it directly to your lure for better action and presentation.
To tie it, make an overhand knot with the tag end, then pass the loop through the lure eye. Tighten carefully to avoid line damage.
This knot works well with most lure types and is a favorite for those wanting extra lure freedom.
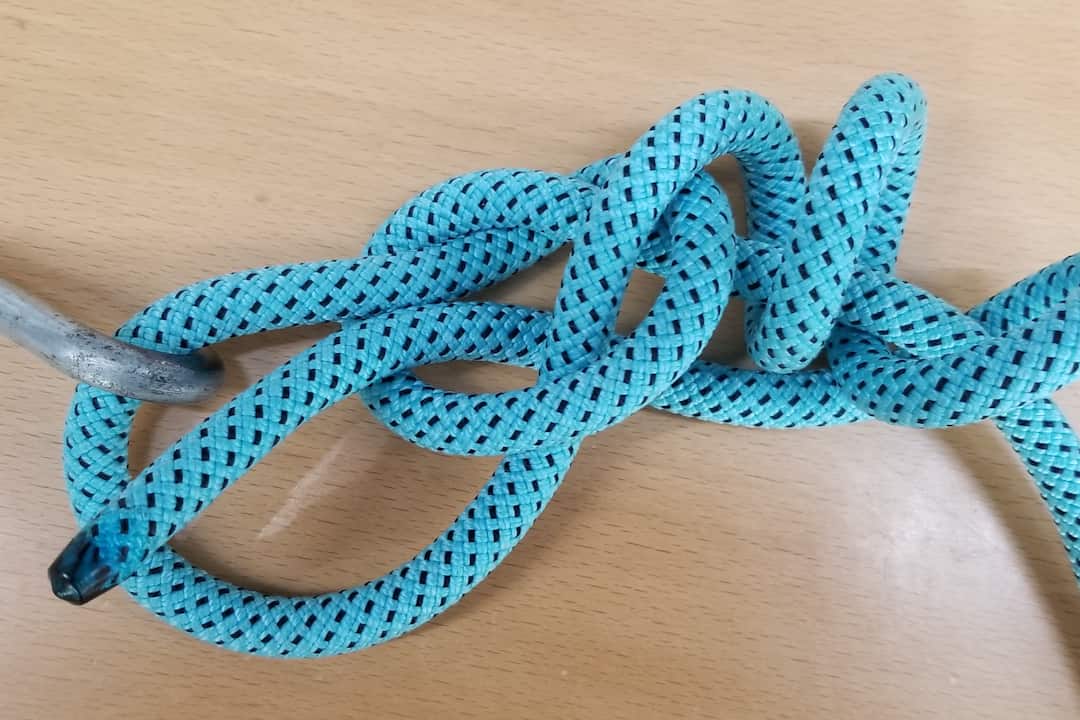
Eugene Slip Knot
The Eugene Slip Knot is great for fishing when you want extra strength. You start by passing the tag end through the hook eye and pulling enough line to form a loop above it.
This knot uses a doubled line to create more surface area, making it hold better under pressure. It’s especially useful for tying strong, reliable connections with fluorocarbon lines.
Once tied, the knot slips tight when you pull, helping it stay secure without slipping. It’s easy to learn and can improve your fishing setup significantly.
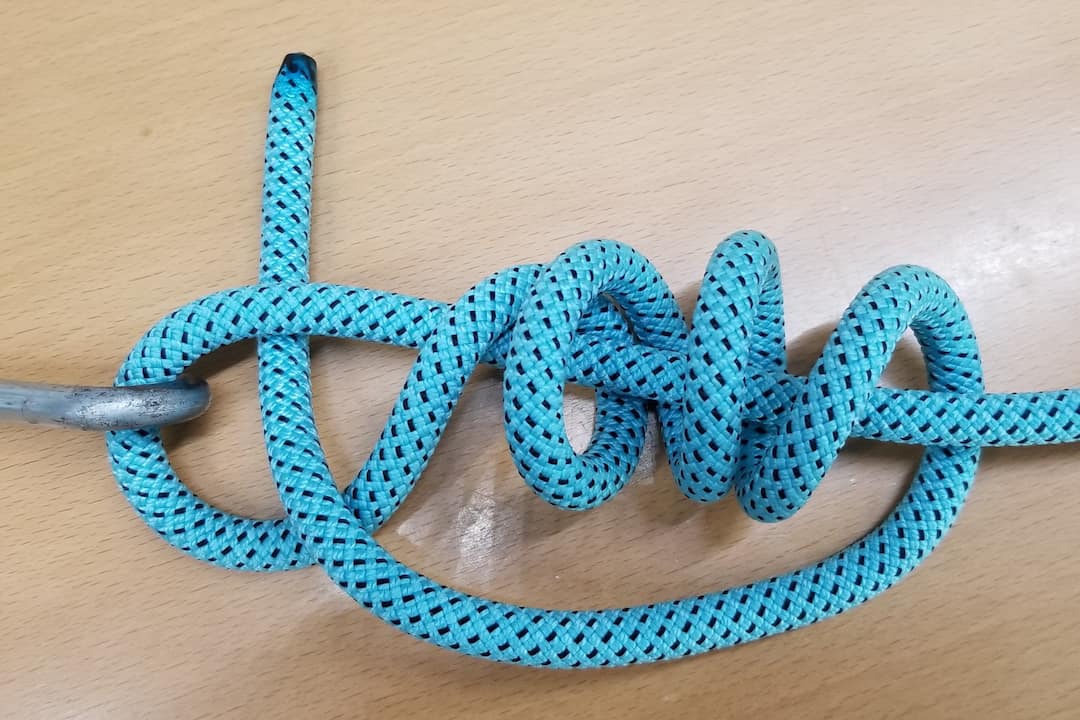
Blood Knot
When you need to join two lines of similar diameter, the Blood Knot is a smart choice. It creates a strong, smooth connection that slides easily through your guides.
To tie it, overlap the ends of your lines and twist each around the other several times. Then, tuck the ends back through the center loop and pull tight.
This knot is great for creating leaders or extending your line without adding bulky knots. Give it a try next time you’re setting up your rig!
Clinch Knot

The clinch knot is one of the simplest and most reliable knots you can learn. It’s perfect for tying your fishing line to hooks, lures, or swivels.
To tie it, pass the line through the eye, wrap it around 5-7 times, then thread the end back through the loop near the eye. Pull it tight and trim the excess. This knot holds well and is easy to master quickly.
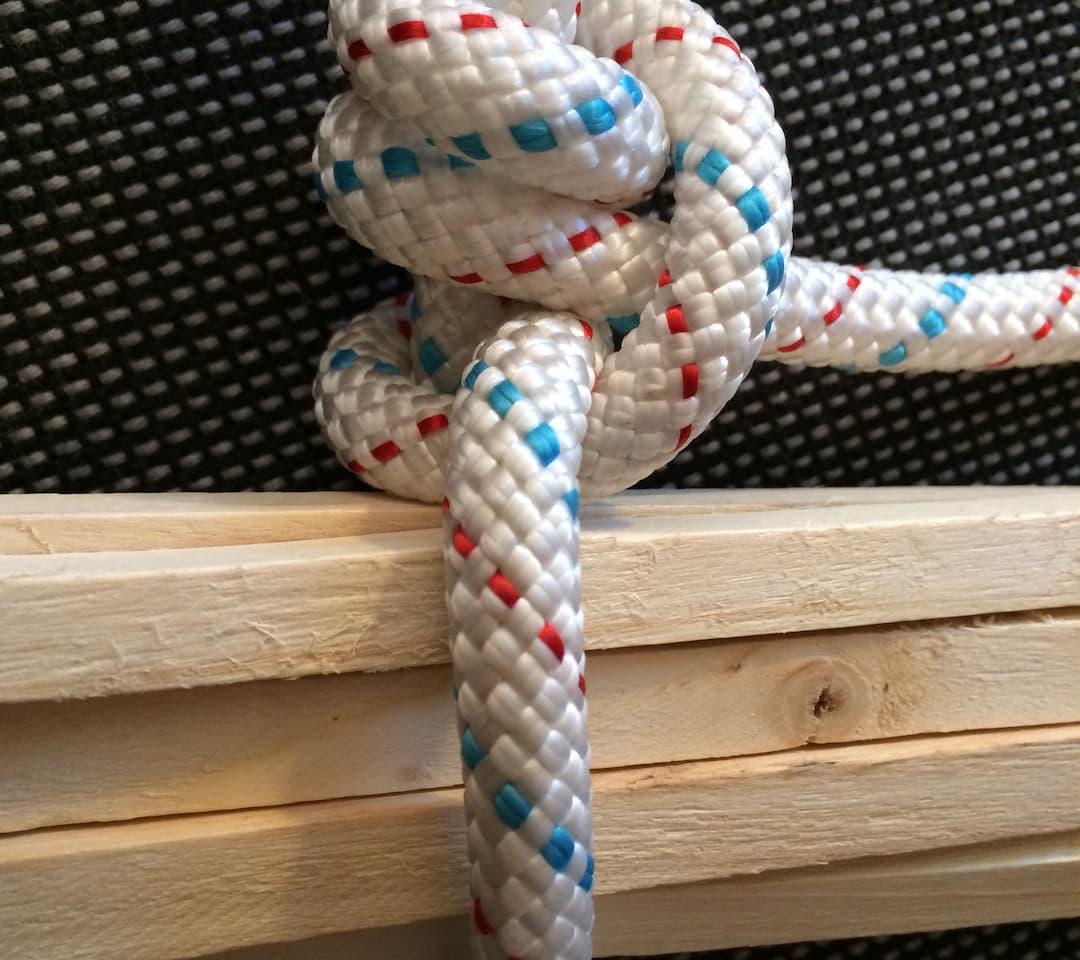
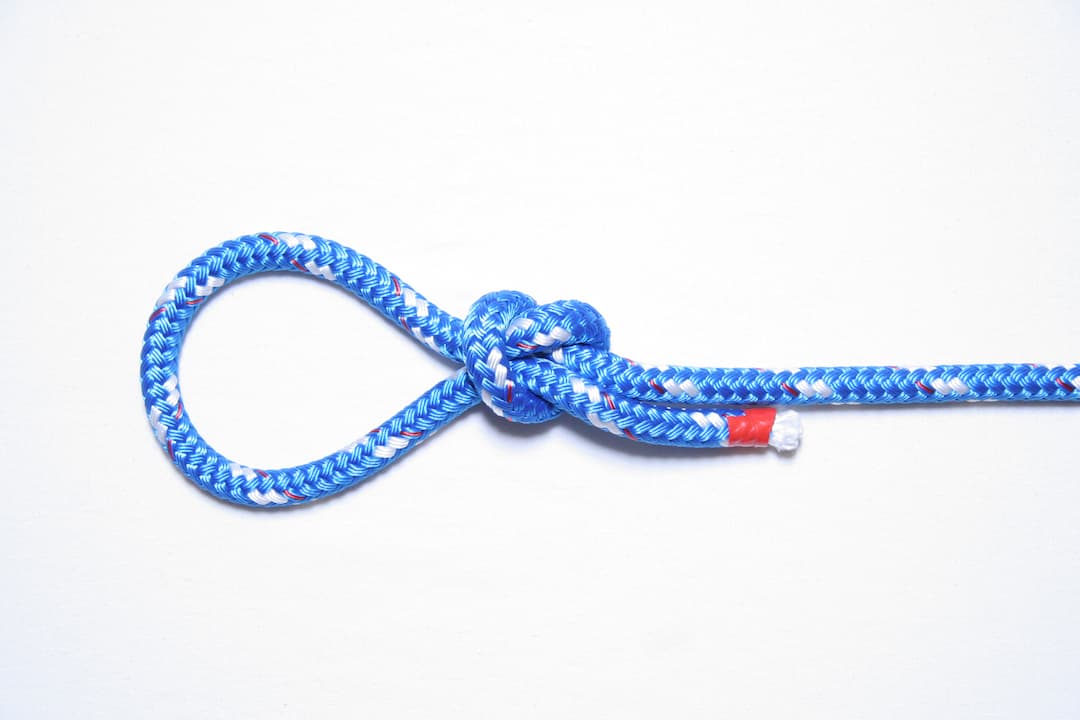
Bowline Knot
The bowline knot creates a secure loop that won’t slip or tighten under pressure. You’ll find it useful for tying lines around objects or making fixed loops.
It’s easy to tie and untie, even after bearing a heavy load. This makes it a reliable choice when you need a strong and stable knot.
Practice it a few times, and you’ll have a handy knot ready for fishing, camping, or rescue situations.
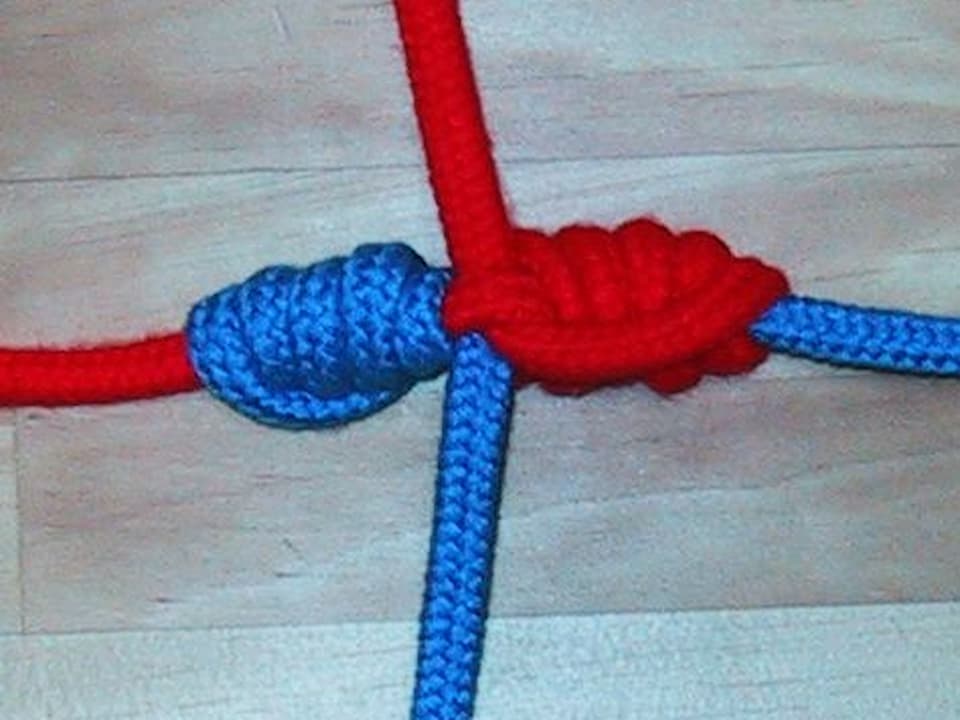
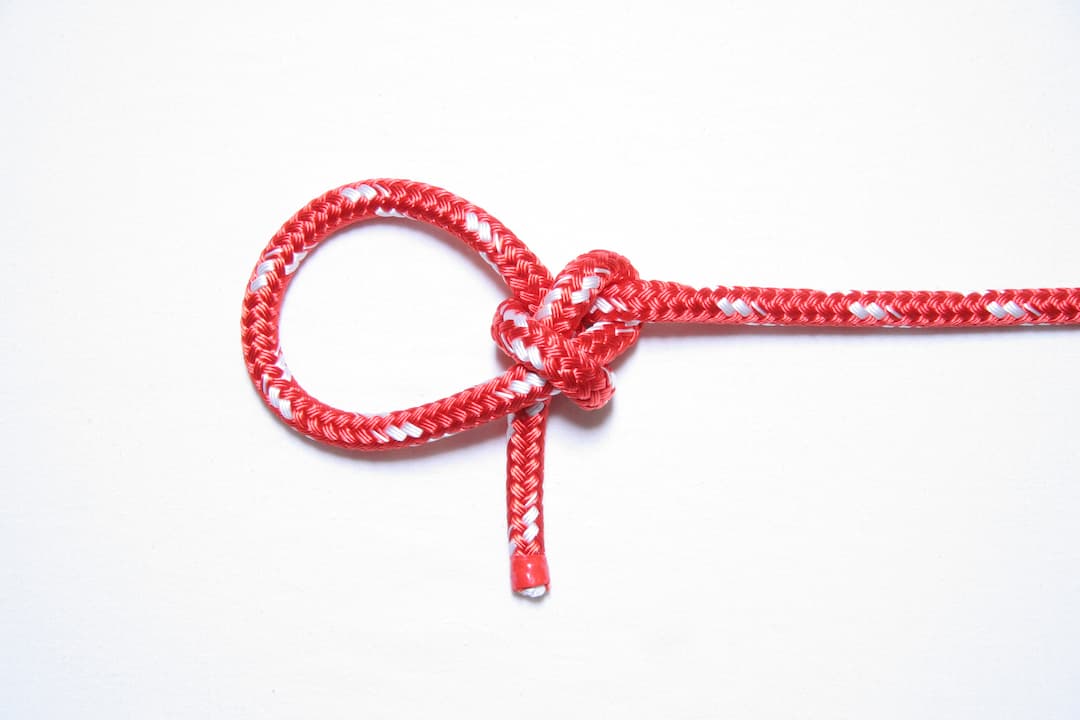
Reef Knot
The reef knot, also known as the square knot, is a simple and reliable way to join two ropes of equal thickness. You tie it by crossing one end over the other, then repeating the motion in reverse.
It’s handy for securing your fishing gear or bundling small items together. Keep in mind, it’s not ideal for heavy loads or slippery lines, but it’s quick and easy for many everyday tasks.
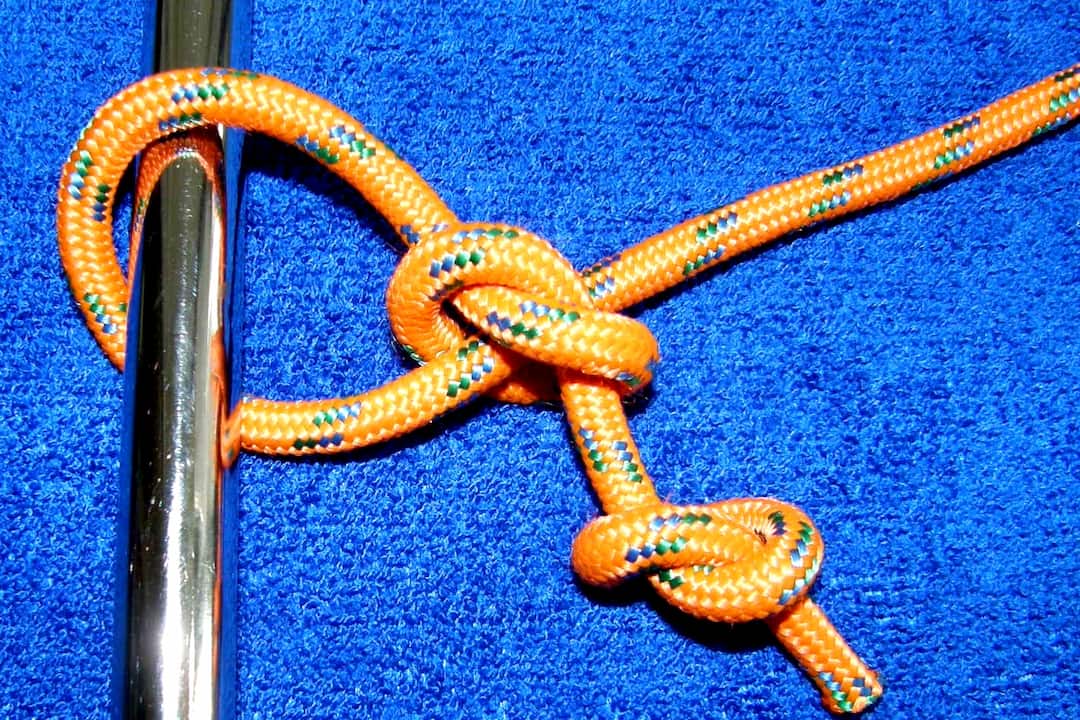
Round Turn and Two Half Hitches
You’ll find the Round Turn and Two Half Hitches useful for securing your line to a post or ring. It provides extra friction with the round turn, making your knot hold better under tension.
Start by wrapping the line around the object once or twice. Then finish it off with two half hitches for a reliable and adjustable knot. It’s simple to tie and easy to adjust if needed.
Trilene Knot
The Trilene Knot is a reliable choice when you need a strong connection between your line and hook. You tie it by wrapping the line around itself two or three times before threading it through the loop near the hook eye.
It works well with monofilament and fluorocarbon lines. This knot is easy to learn and performs consistently, making it perfect for various fishing situations you might face.
Leave a Reply